|
|
||
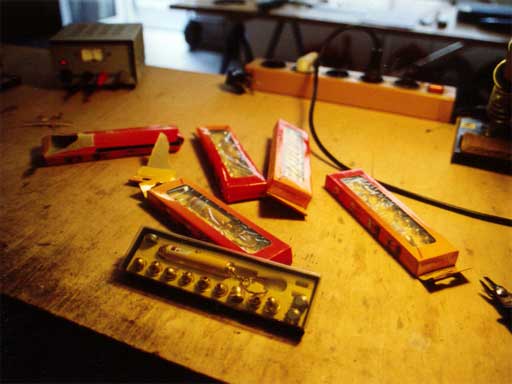
| Back to the diary | If you ever wanted to know, how to build a light barrier for only two Euros, read this text! The first thing you have to do, is to buy the cheapest laser pointers, that you can get. I have ordered ten of them at a "buy it now" Ebay auction for 1 Euro each. |
|
|
||
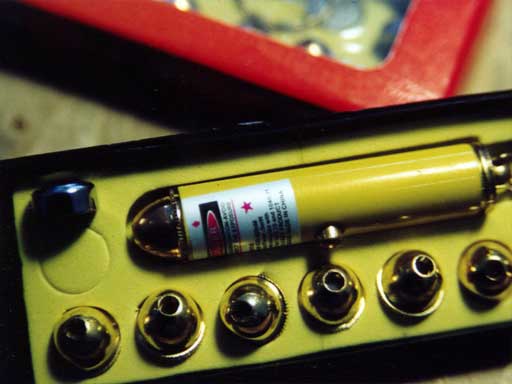
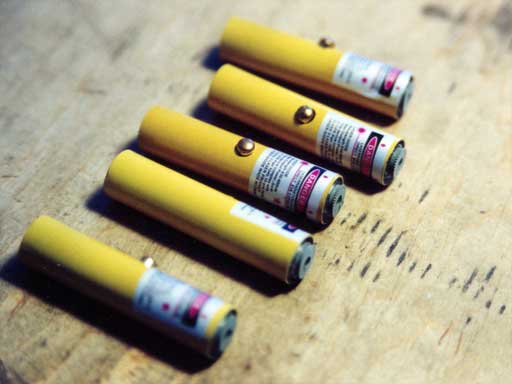
Even if the pointers that came, look quite alright on the picture below, the first thing that you realize, if you hold them in your hands is, that this is really bad Chinese quality. Don't care about that, they are good enough for our purpose. |
||
|
||
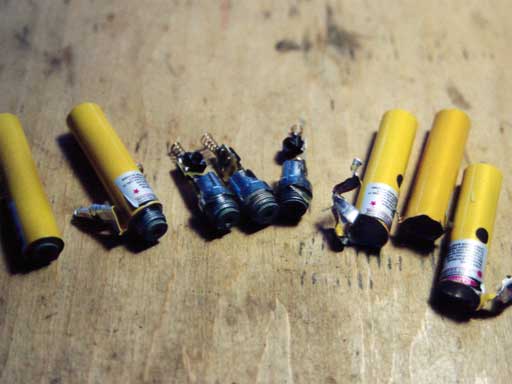
The second step is to disassemble them. |
||
|
||
Because the only thing, that we need is the laser diode inside. |
||
|
||
These are the laser diodes. I've soldered a black cable for GND and a red cable for +5V to the small boards. |
||
|
||
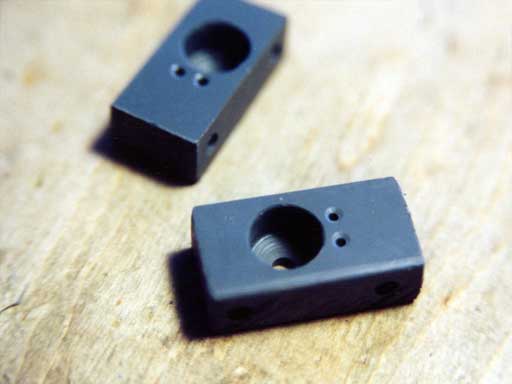
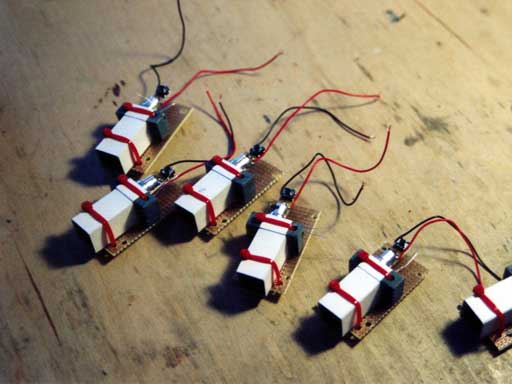
Then, you need some support for the construction. I've drilled some holes in those small vinyl parts for that reason. The big hole will hold the laser, the small holes will fix the light dependant resistor (LDR). |
||
|
||
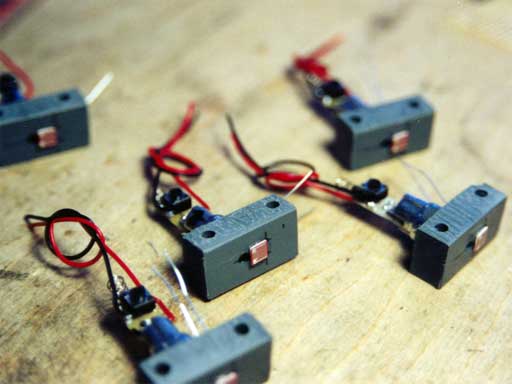
This is already 90% of the construction. The red and white things are the LDR's. The LDR's, that I've used are called M9960 and cost about 1 Euro. Next to the LDR's, you can see the holes, where the laser beams come out. The hole for the beam and the LDR have to be as close to each other as possible. |
||
|
||
This is how it looks from the back. |
||
|
||
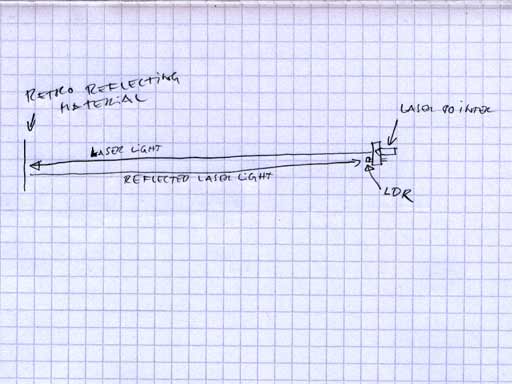
This is maybe the point, where I should explain, how the low cost laser barrier works: The principle is very simple. The laser beam points onto a retro reflecting material (something like a cat eye). The retro reflecting material will reflect the laser to its point of origin, no matter in which angle the laser beam points on it. Because this is not 100% precise, some light will also reflect to the positions surrounding the point of where the laser came from. This is, where the LDR is located. So, if the laser points on the retro reflecting material, light is reflected onto the LDR. If there's no light on the LDR, an obstacle is in between the retro stuff and the laser barrier. At the end, we simply have to measure the resistance of the LDR to find out, whether the barrier is blocked, or not. I should mention, that we are using this device for the Galleryzone in a slightly different way. In the zone system, the lasers won't point at retro reflectors, but the cars will have a retro reflecting foil on their right side. If the car passes such a barrier, the laser barrier will detect the foil on them. The reason, why I put the retro material onto the car is simple: I want that the barriers only detect cars - and nothing else, which passes them. Here's a simple drawing, that shows how it works: |
||
|
||
If you have understood the principle of the laser barriers, that I've explained above, you might ask yourself, how the problem of changing ambient light will be solved. Well, that's simple: The only thing you have to build, are some black tubes (I used black coated cardboard for this purpose), that you put in front of the pointer and the LDR. With those tubes, no ambient light will fall onto the LDR. If there's sunlight shining in a very flat angle, directly inside the light barrier, of course it won't work. But even "normal" light barriers will not work under such circumstances. |
||
|
||
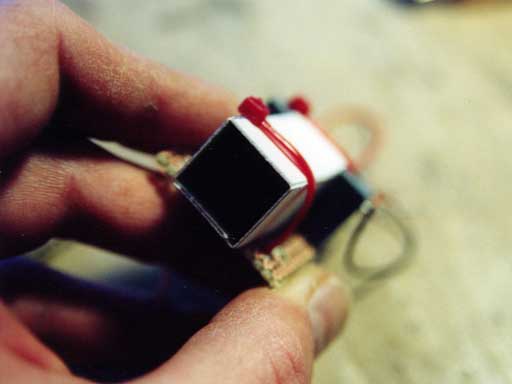
These are the almost finished mass produced laser barriers with the attached cardboard tube. |
||
|
||
Look at this close up: Inside that black tube, you see... nothing! Because it is dark inside. So, the LDR can concentrate on the light which is reflected by the retro reflecting stuff. |
||
|
||
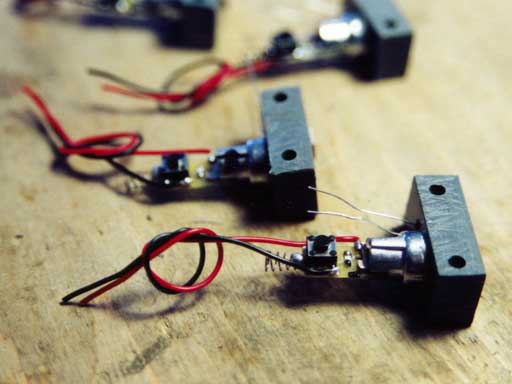
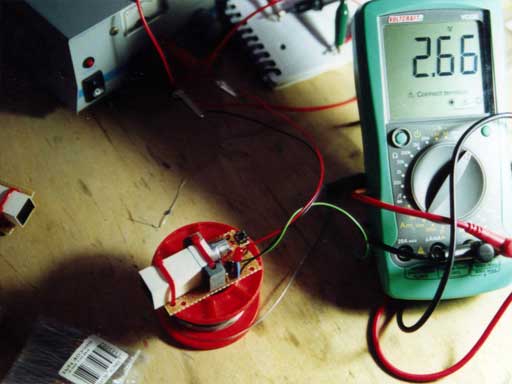
But what we will also need is a bit of an electronic circuit, to generate a signal voltage out of the changing resistance of the LDR. The only part, that is required for that circuit shown below, is the 1K resistor (which costs almost nothing). With that and the LDR, you have a voltage divider, which produces signals, that can already switch logic IC's. Depending on which type of LDR you use, you might need a different value than 1K for the resistor. For maximum debugging comfort, I've also added a transistor and a LED to see at a glance, if the signal line is high or low. |
||
|
||
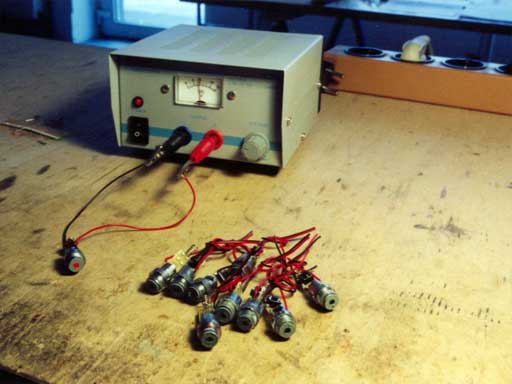
This is my first test setup. |
||
|
||
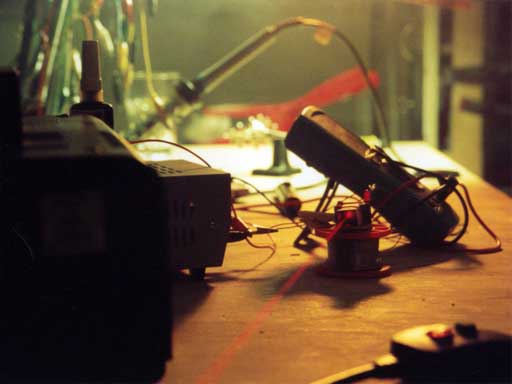
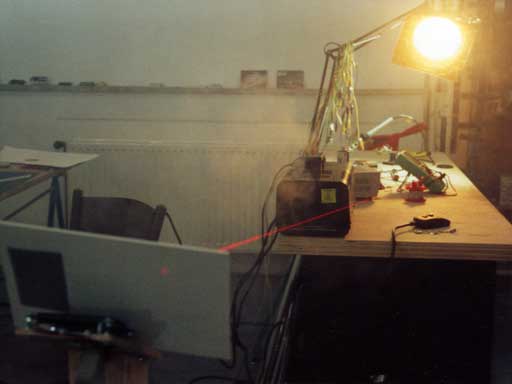
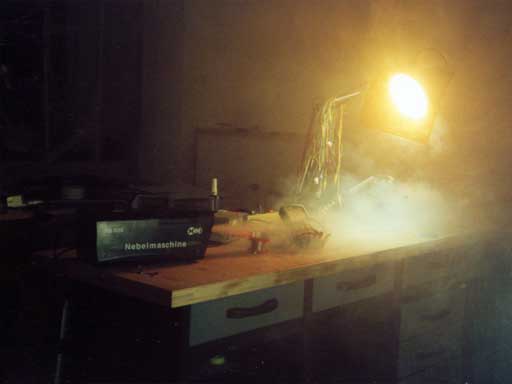
Here, you can see the laser beaming around in my workshop. |
||
|
||
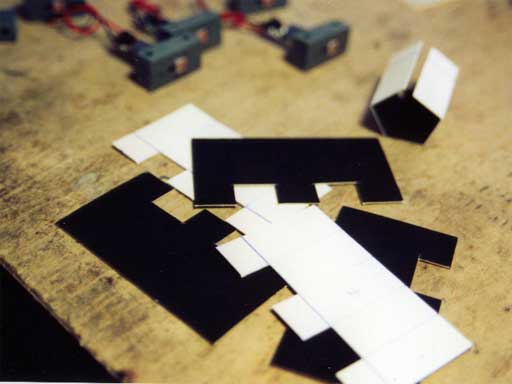
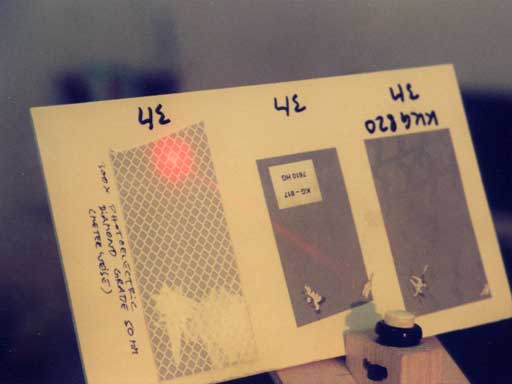
The laser is pointing at a sheet with several different retro reflecting materials. |
||
|
||
Here, you can see the different materials, that I've tested. The material that I liked most, is an adhesive tape, called "Photoelectric Diamond Grade". It is produced by 3M. There's a simple trick to get those materials for free: I just called 3M and asked, if they can provide me with some retro reflecting materials for testing purposes. One day later, a courier service brought me a package with a lot of different materials and I had to pay nothing. 3M is a very nice company. |
||
|
||
And this is the trick behind the pictures above: I used my fog machine to get the laser beam visible. |
||
|
||
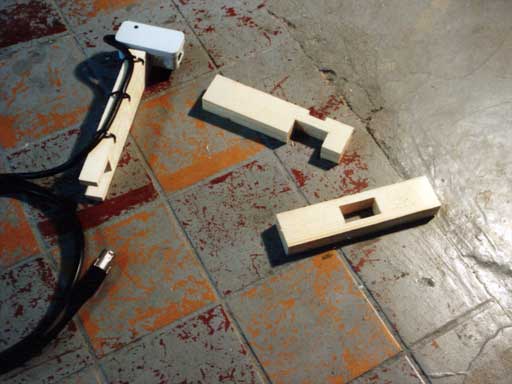
Ok, even if the laser barriers work now - for the Galleryzone, they need a package, a cable with a plug and a simple stand. This is the point, where the costs for each laser barrier increase dramatically by several 100%. I have attached a two meter cable at each laser barrier, with a 3-pin male XLR plug at the end. This is, how the pins are used: 1: GND And when I am already writing down this technical stuff, I should also mention, that the height of the lasers is 23,5 cm above the floor. So this is the position, where the cars need to have the retro reflecting foil. On the picture below, you can see the simple stand, that I've constructed out of wood. |
||
|
||
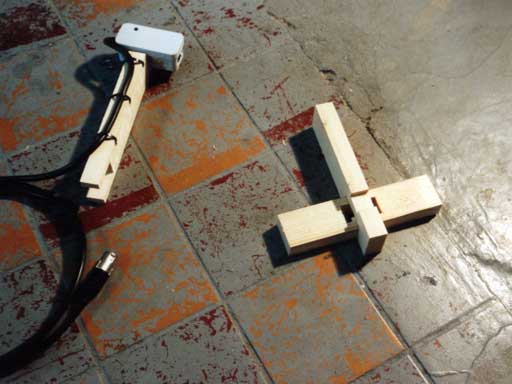
The three pieces of the stand only have to be plugged into each other. |
||
|
||
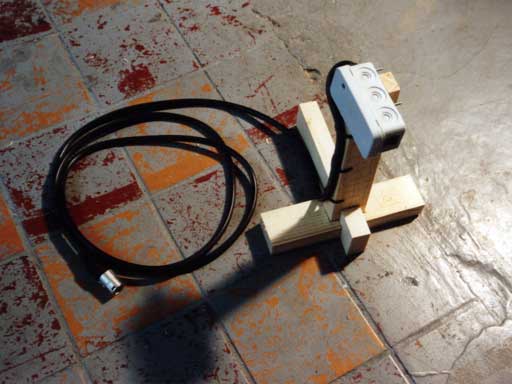
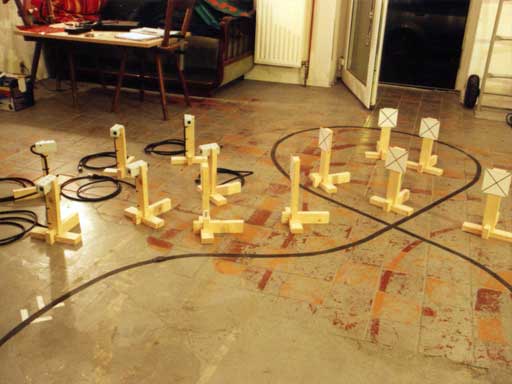
And then, the Gallerylaser is finished. The three parts don't have to be screwed or glued. So, for transport and storage, they can be disassembled easily. |
||
|
||
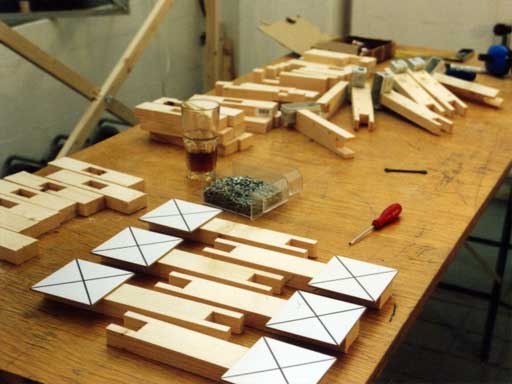
Here's another impression of the mass-production, that I've started in my workshop. The white things with the crosses in the foreground are laser stoppers. I'll put them on the opposite side of the track, that the lasers don't beam through the whole exhibition venue. |
||
|
||
And I took a final photo of all my laser barriers and laser stoppers. |
||
|
||
Please note, that the content on this webpage is licensed under a Creative Commons Attribution 2.0 License. Please respect the copyright of other webpages' content, which are linked from this webpage. |
||