|
|
||
| Back to the diary | On my diary entry from 18.8., I already published all the code and circuit stuff, which is required to get the display running. Now, you can have a first look at the display case, which I've built out of gray vinyl. |
|
|
||
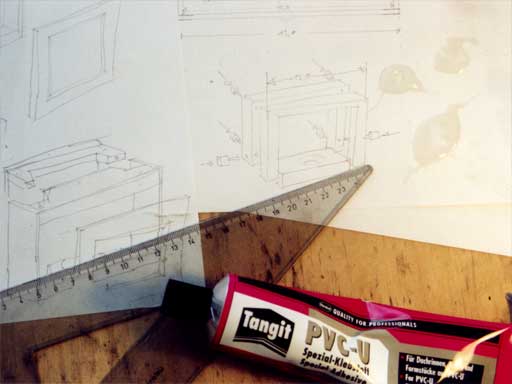
I started witch some sketches. This is how I developed an idea about which parts I would have to build for the housing and how I could assemble them. The red glue, "Tangit", is a special glue for hard vinyl. Usually, this is used to glue sanitary tubes. |
||
|
||
First, I started to build the front out of a 3mm thick sheet of vinyl. |
||
|
||
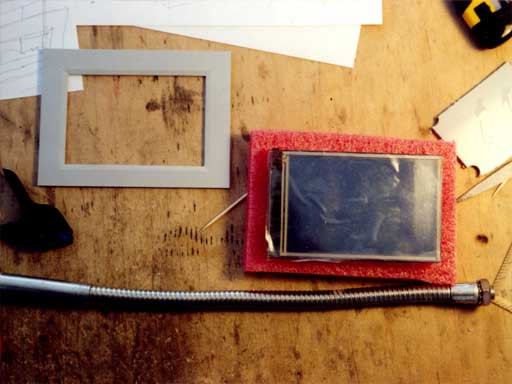
Then, I placed all the parts that I had on my workbench to take this nice "parts picture". Please note, that I've taken the gooseneck out of a desktop lamp. This was much cheaper than buying a plain gooseneck. |
||
|
||
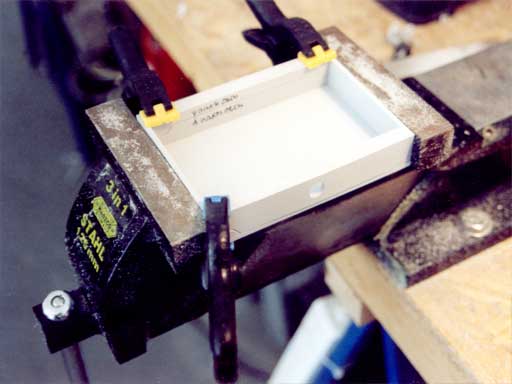
Here, you can see, how I used my bench vice to press all the parts during gluing. |
||
|
||
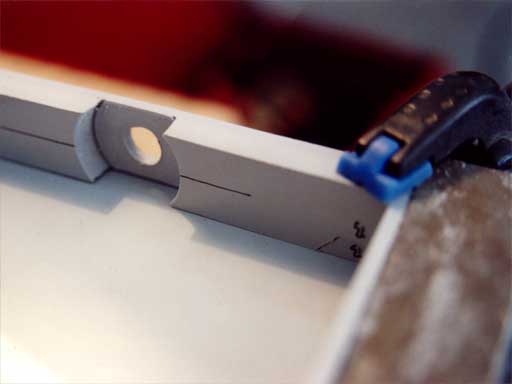
This close up shows the lower part, where the gooseneck will be attached at the end. |
||
|
||
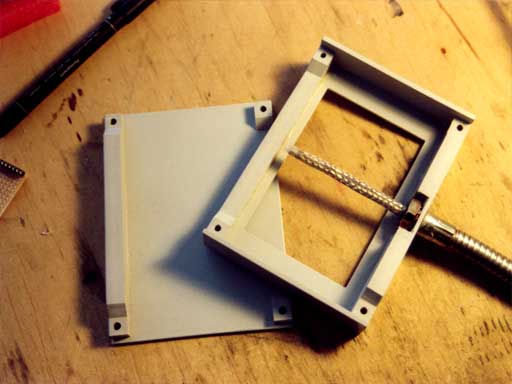
Now, all the parts are glued. Later, the back plate can be screwed onto the front frame. |
||
|
||
But before, I had to build a board, which connects the display with some wires. |
||
|
||
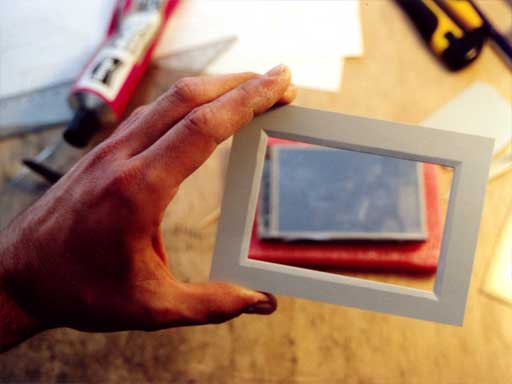
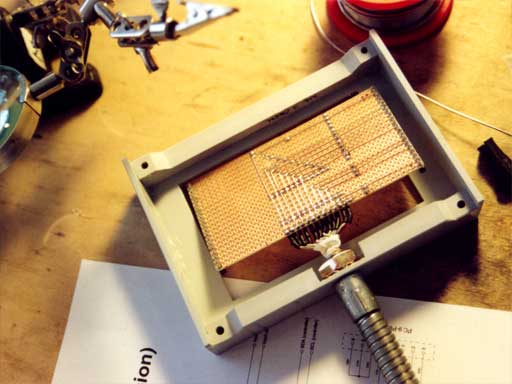
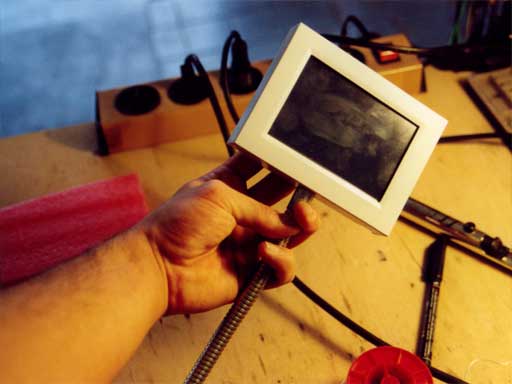
This is, how the display looks inside the front frame. The back plate is not yet screwed onto the frame, so I'm holding the display in position. |
||
|
||
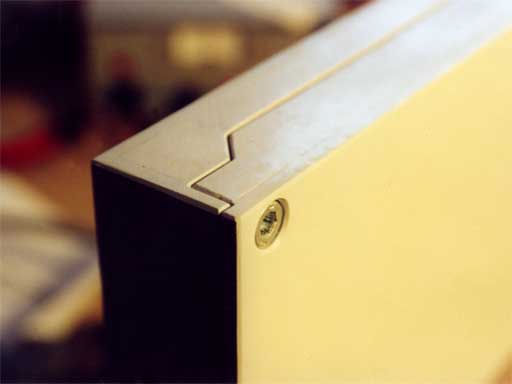
This close up shows, how front and back part of the chassis fit together. Note the nice bevels, which I always file to make it more beautiful. |
||
|
||
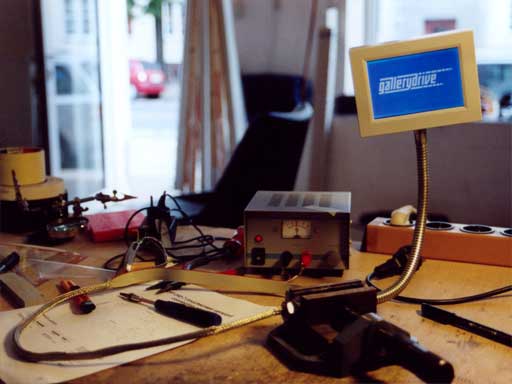
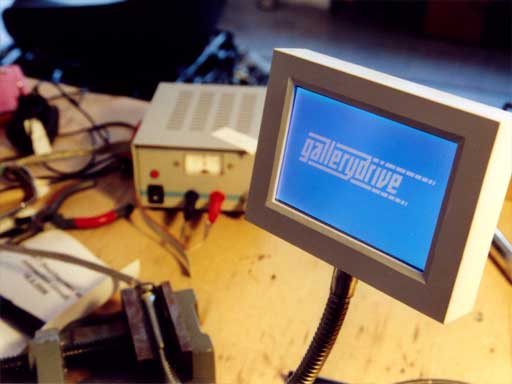
This is the finished display in action. |
||
|
||
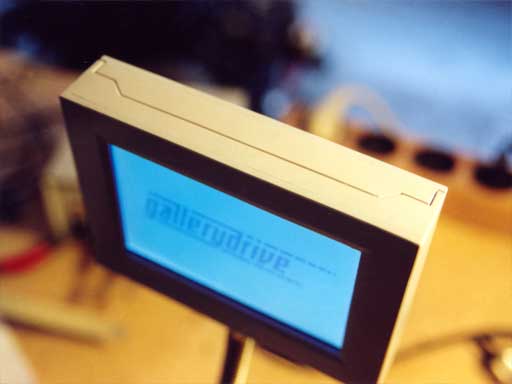
Another perspective, where you can see the beauty of the bevels, again. And you can also see, how the color of the display changes, when the viewing angle changes. What has been white, gets dark blue, now. |
||
|
||
Please note, that the content on this webpage is licensed under a Creative Commons Attribution 2.0 License. Please respect the copyright of other webpages' content, which are linked from this webpage. |
||