|
|
||
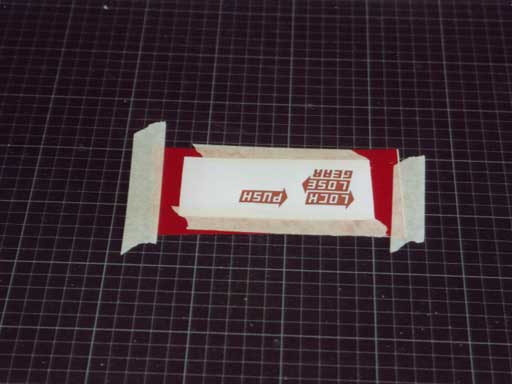
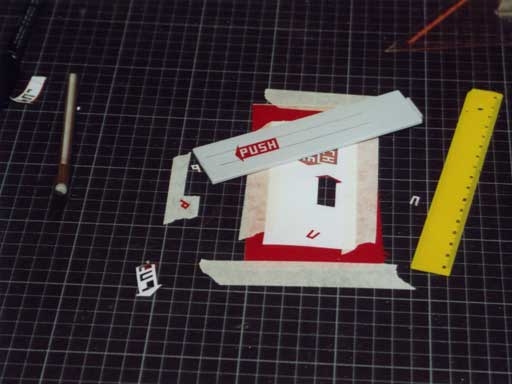
| Back to the diary | On some mechanical parts of the car body, I want to place stickers which help to understand how to use those certain parts. For producing those stickers, I started with designing them on the computer. Then I printed them out on paper and adhered that paper onto a sheet of colored adhesive film. |
|
|
||
The second step was to concentrate. |
||
|
||
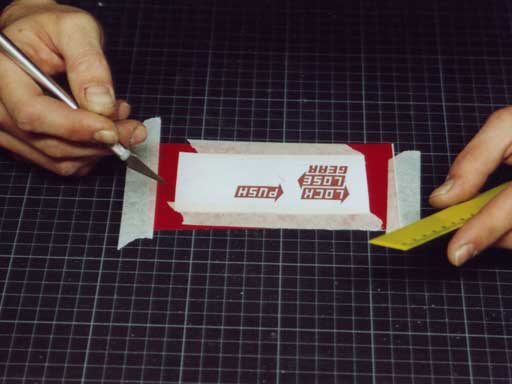
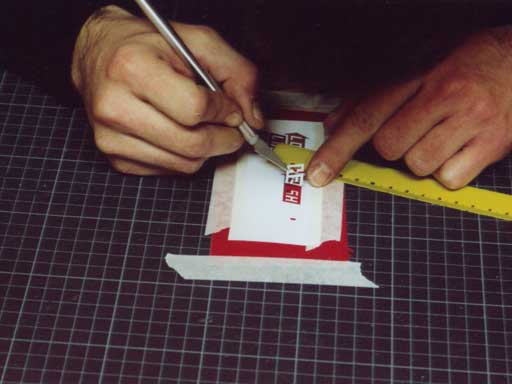
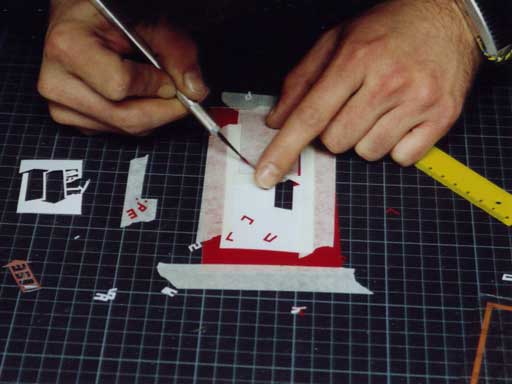
A picture of the third step misses, where I cut the borders of the graphic through paper and film. The plastic ruler helps me. I know, that using a steel ruler is regarded as being more professional for such kind of work. But somehow, I prefer to use that plastic ruler. Perhaps, it is just the bright yellow color, that I like so much. The next step, that you can see below, is to lift the paper. If you do that carefully, the film will stay on the table. |
||
|
||
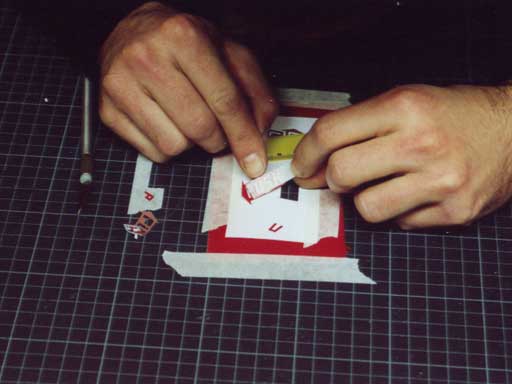
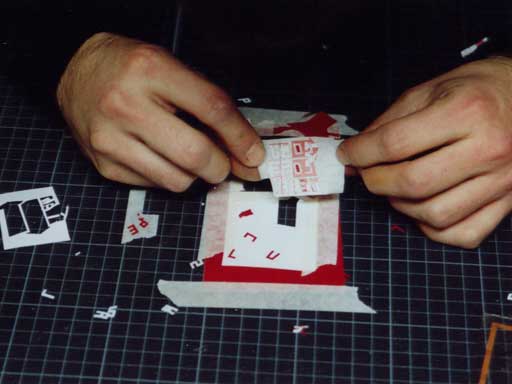
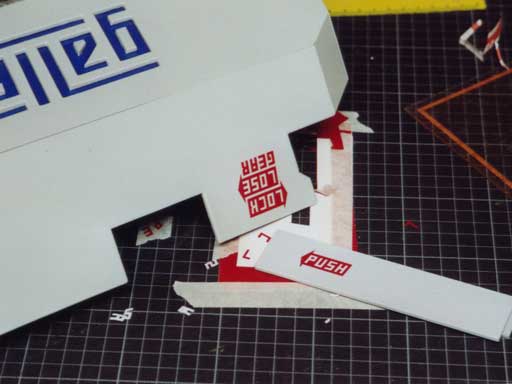
Then, I've adhered some masking tape on the film. After that, I lifted the whole graphic off the table. The next step was to take out the parts carefully, which should not appear in the final graphic. This is what you can see on the picture below. |
||
|
||
With the help of the masking tape, I could finally adhere the finished sticker onto the vinyl. |
||
|
||
This is how the first sticker looks like: |
||
|
||
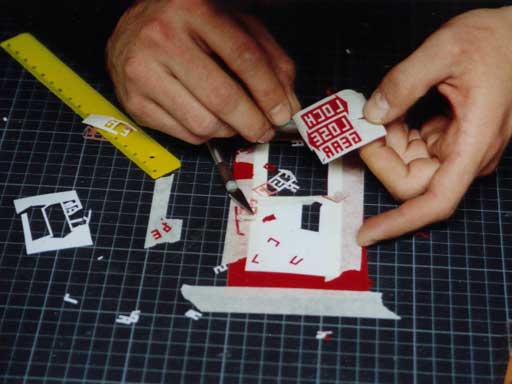
The next sticker was a bit more complex. |
||
|
||
I had to do much more masking tape action to get rid of the different parts of the sticker. |
||
|
||
But even that worked well. You can see the sticky side of the cut out film, here. On the back, there's the masking tape. |
||
|
||
And here are both finished parts of the car body with the stickers placed on them. |
||
|
||
Please note, that the content on this webpage is licensed under a Creative Commons Attribution 2.0 License. Please respect the copyright of other webpages' content, which are linked from this webpage. |
||