|
|
||
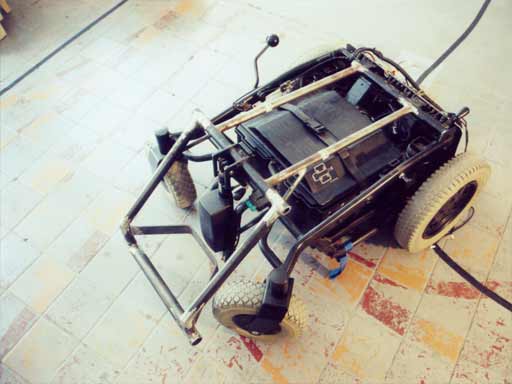
| Back to the diary | Programming is important. Soldering, too. But working on the shape of the wheelchair is sometimes much more satisfying, because the result looks good and it is also tangible. During the last weeks, when I got stuck at electronic or programming problems, I worked on the wheelchair chassis. You could see in my diary entry from 18.8., how I prepared the welding work for Mr Taubert. Here is the result: |
|
|
||
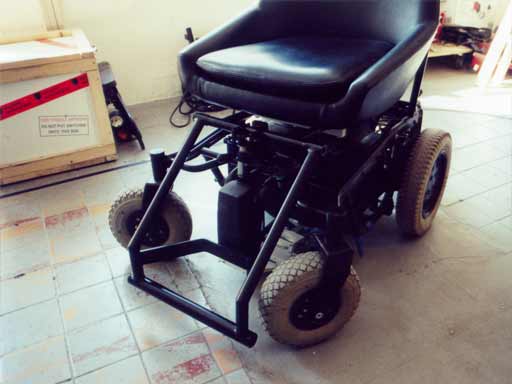
While Mr Taubert welded all the parts, where visitors will step or sit on, I welded all the parts by myself which are not safety relevant. Because this is a work, which brings a lot of fun, and I want to get some welding practice. In the front, you can see two poles coming up. They will hold a flashing blue light, which indicates, whether the wheelchair loses its track. This is the first (useful) thing, I ever welded by myself. |
||
|
||
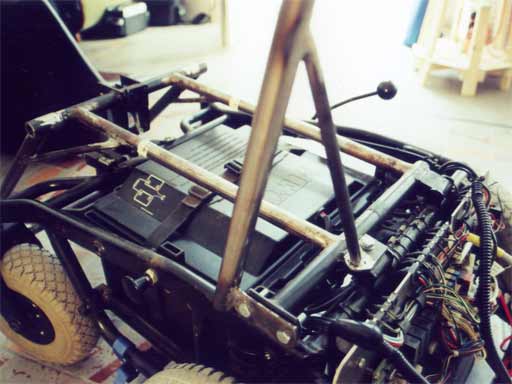
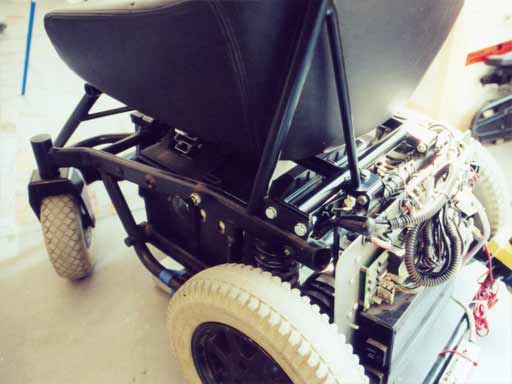
On the left side, you can see a lever for the manual brakes. Later, I had to cut this, because this is the space, where the whole electronics will be mounted. There is a much smaller lever for the brakes under the seat, now. You also have a better view on the pole for the flashing blue light on this picture. |
||
|
||
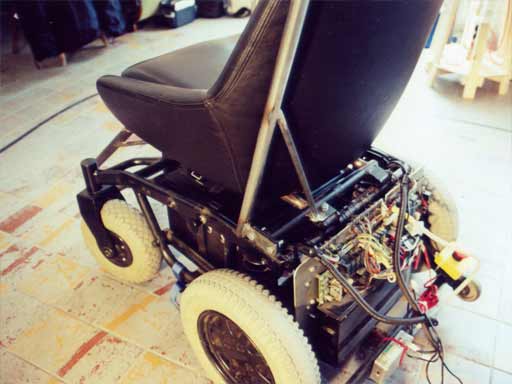
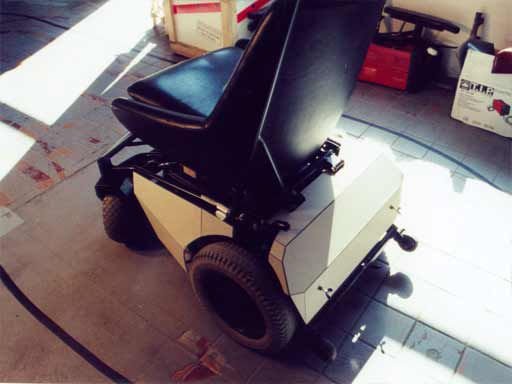
This is, how the chassis looks with the seat mounted on it. I have immolated the very comfortable seat, on which I always sat at my desk. Now, I have to sit on a quite hard wooden chair, while I am writing this text. |
||
|
||
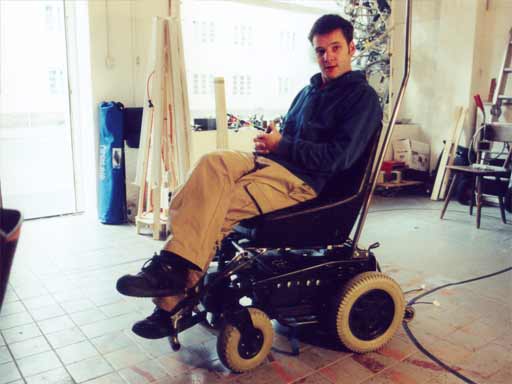
I think, that most of my photos are a bit boring, because there are never people on it. For this photo, I used the timer of the camera, to give it a nice personal touch. |
||
|
||
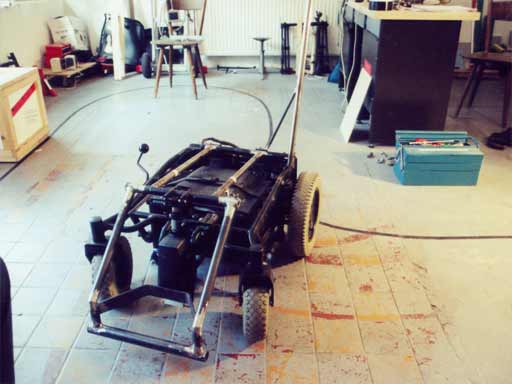
Between the last photo and the next, some time has past, where the chassis was powder coated. Now, it looks much better. The new chassis parts fit exactly to all the old steel parts of the wheelchair. |
||
|
||
My self welded pole also looks much better, with the matt-finished black paint on it. |
||
|
||
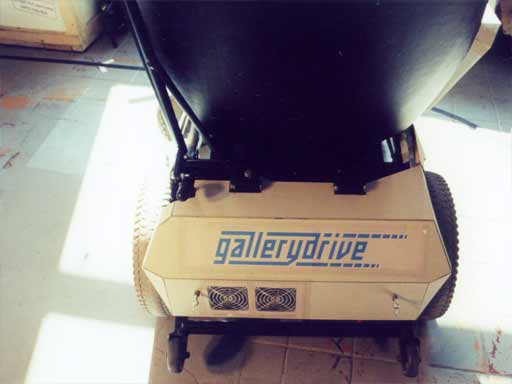
The next step was to build a mock-up of the car body. I used sheets of 3mm cardboard for that. I want to build the real car body out of gray sheets of vinyl, which is also 3mm thick. So this gives already a good impression, of how it will finally look like. The shape is half inspired by Tilmans and Volkers ////furminator and half by the shape of the seat. My intention was to create a polygonal counterpart to the seat's flowing lines. |
||
|
||
I am thinking of cutting the Gallerydrive logo into the vinyl, and putting illuminated blue plexiglas behind it. To get a feeling of how this could look like, I printed the logo with my inkjet printer and adhered it onto the cardboard. The two fans are also two prints, which I have adhered exactly above the motor driver. With the coolers and the logo, the design becomes a nice mixture of a designer chair, a bumper car, car tuning and casemodded PC. - That's exactly, what I need. Today, I want to spend some time at the telephone, to find out if I can organize some Pirelli racing slicks for the wheelchair. |
||
|
||
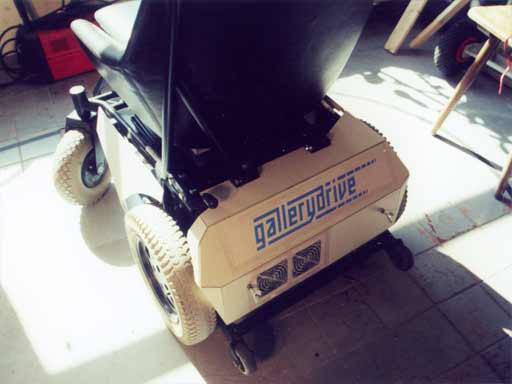
I should have lowered my marquee. The bright sunlight and the strong shadows are not so good to understand the shape of the car body on those photos. |
||
|
||
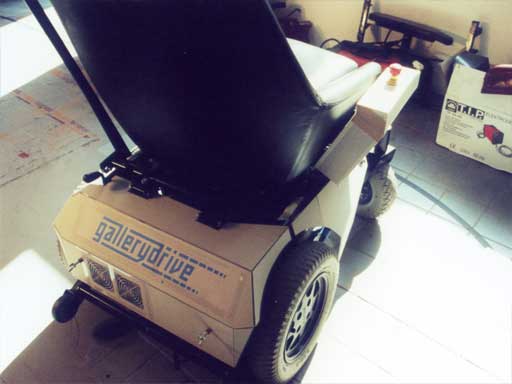
On the right side, next to the chair, you can see the box which will contain the electronics. There is enough space for four standard sized europe circuit boards. On the top, I already inserted the emergency off button. |
||
|
||
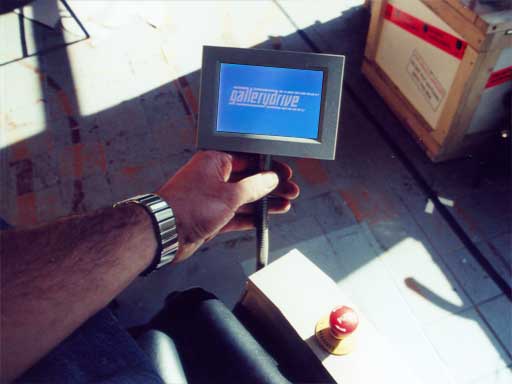
The displays gooseneck will come out of the box, which contains the electronics and the emergency off button. At the moment, I'm just holding it in position, to get an impression of how it will finally look like. |
||
|
||
Please note, that the content on this webpage is licensed under a Creative Commons Attribution 2.0 License. Please respect the copyright of other webpages' content, which are linked from this webpage. |
||